'How to' OTA Update the SAT1
Step 1: Confirm the Software Update
- Select YES, if you want to Update Now.
- Select NO, if you would like to return to Live TV, and Update Later.

Step 2: Download the Software Update
- The SAT1 will search the Satellite Broadcast, and begin downloading the Software.
- It should take approx. 2-3 Minutes to download the Software.

Step 3: Update Complete
- Once the Software Update has completed, the SAT1 will Reset/Reboot, and return to Live TV.

NOTE: If the SAT1 displays "No Signal - Check your Cable/Satellite Dish" after the Software Update, the SAT1 may require a Factory Reset, and re-tune of the Channels.
'How to' Factory Reset the SAT1
Step 1: Open the Main Menu
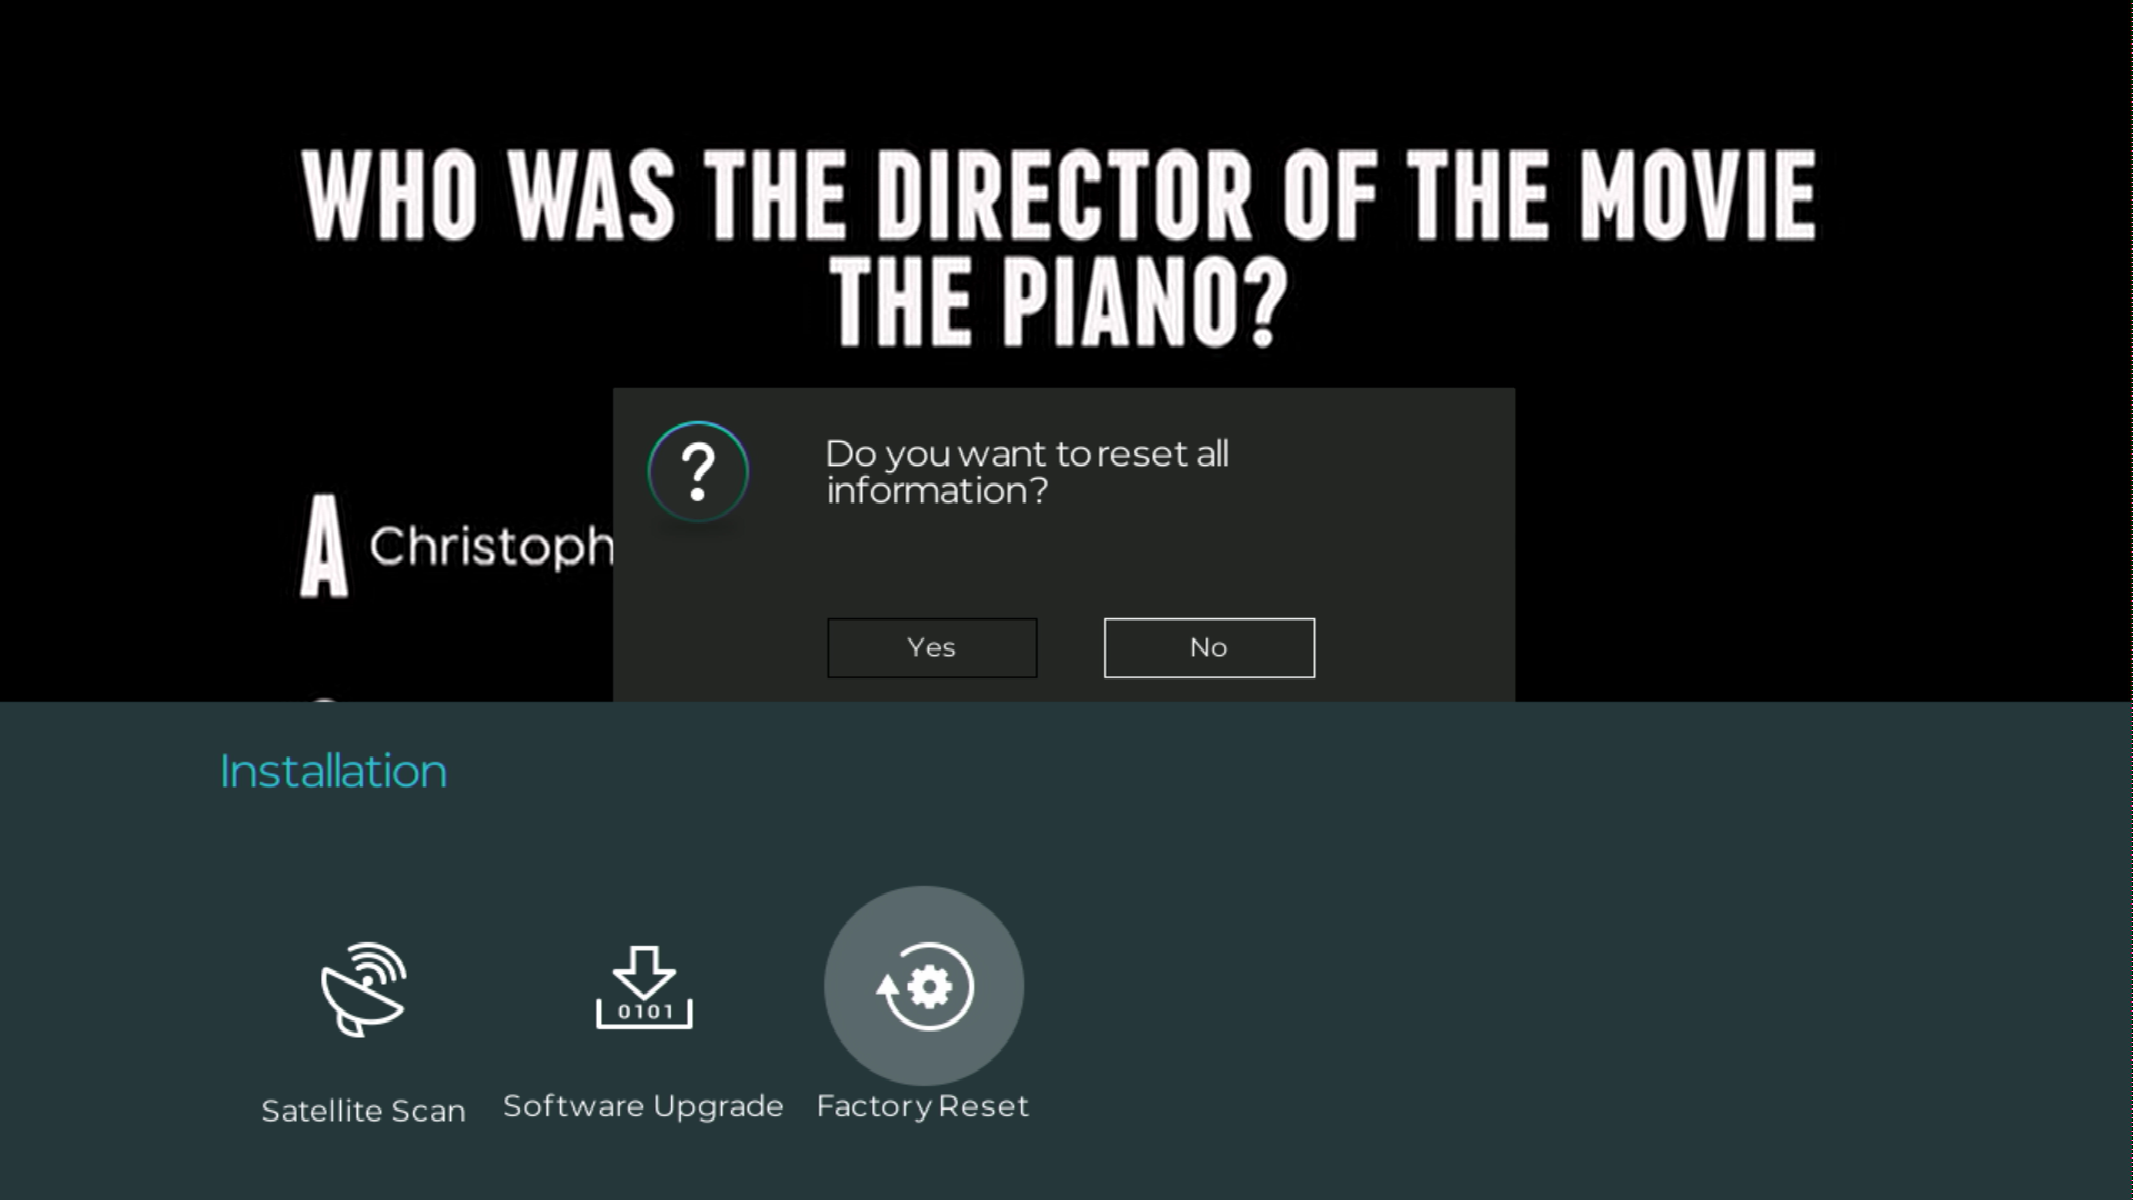
- With the Remote, go to Menu > Installation > Factory Reset.
- Use the ◀ ▶ ▼ ▲ buttons on the Remote to navigate the Main Menu.

Step 2: Confirm the Factory Reset
- Select YES, if you want to reset all information on the SAT1.
- Select NO, if you would like to return to the Main Menu.

Step 3: Enter the PIN
- Use the NUMERIC buttons on the Remote to enter the PIN. Default is "0000".
- The SAT1 will then Reset/Reboot, and return to the "Welcome" Screen.
- Follow the on-screen prompts to re-tune the Channels.

NOTE: By performing a Factory Reset, you understand that all user configured settings and information will be cleared.


